How to rebuild the index when Spotlight search doesn’t work on Mac

Spotlight, the powerful search feature on Mac, allows users to quickly find files, apps, and information on their system. However, sometimes the Spotlight index can become corrupted or encounter issues, leading to inaccurate search results or slow performance.
In such cases, rebuilding the Spotlight index can help resolve these issues and restore its functionality. In this article, we will explore how to rebuild the Mac Spotlight index using terminal commands, ensuring a more efficient and accurate search experience. This tutorial is based on the macOS Ventura version.
Why Rebuilding the Spotlight Index?
Before we delve into the steps to rebuild the Spotlight index, let’s understand why it might be necessary. Over time, as you create, modify, and delete files, the Spotlight index can become outdated or fragmented, resulting in incomplete or inaccurate search results.
Rebuilding the index essentially clears the existing index and creates a new one, ensuring a fresh and organized database for Spotlight to reference.
1. Rebuilding the Index by Adjusting Spotlight Privacy Settings
The first method involves excluding the Macintosh HD path, which is the storage space on your Mac, from Spotlight and then removing the exclusion to rebuild the index. Here are the steps.
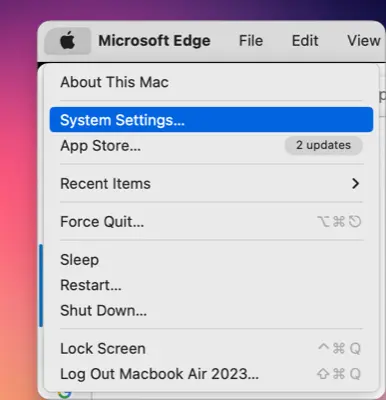
Click on the icon in the top menu bar, then select “System Settings.”
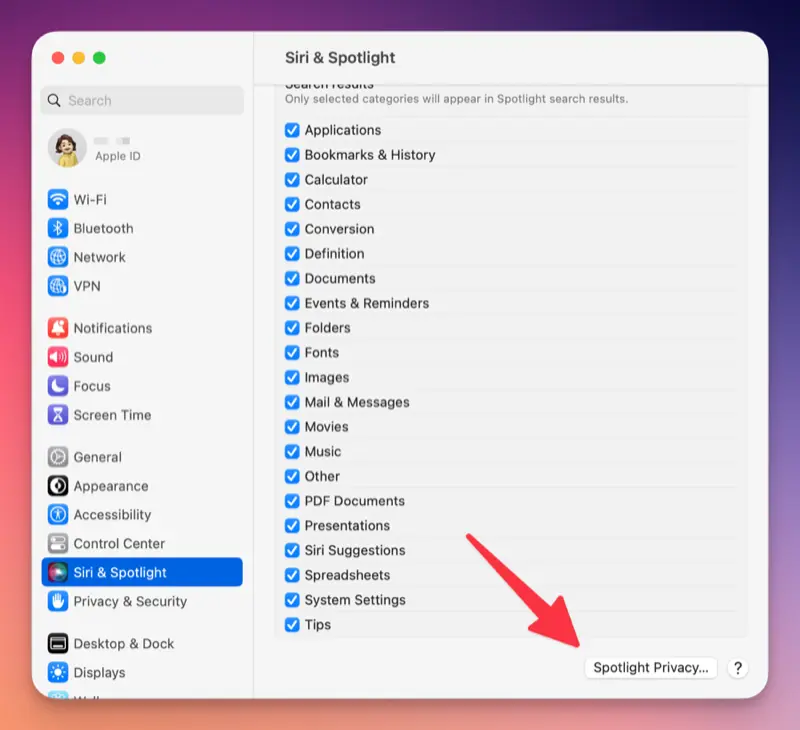
In the System Preferences list, choose “Siri & Spotlight,” and click the Spotlight Privacy… button at the bottom right of the Spotlight section.
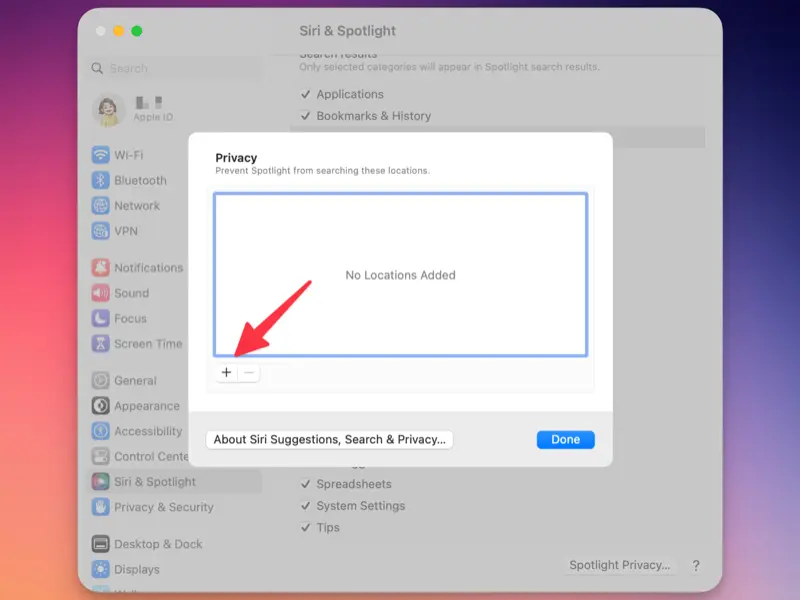
Click the + button at the bottom left of the Privacy Location settings window.
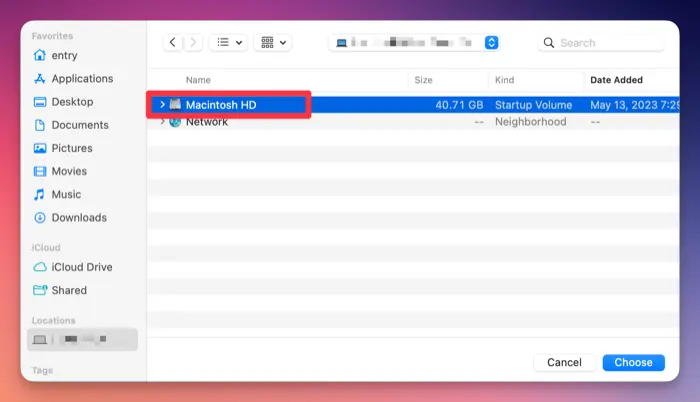
In the dropdown path selection at the top of the Finder, choose Macintosh HD, and click the Choose button at the bottom right.
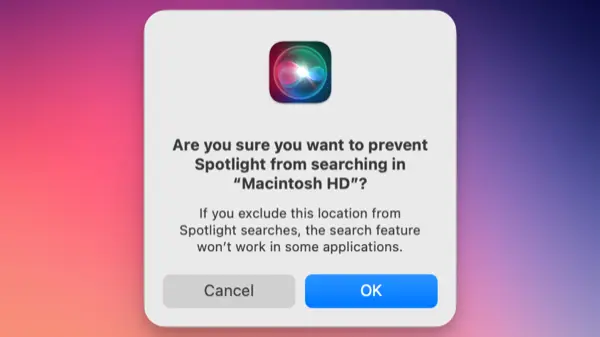
When the prompt “Do you want to prevent Spotlight from searching in ‘Macintosh HD’?” appears, click the OK button.
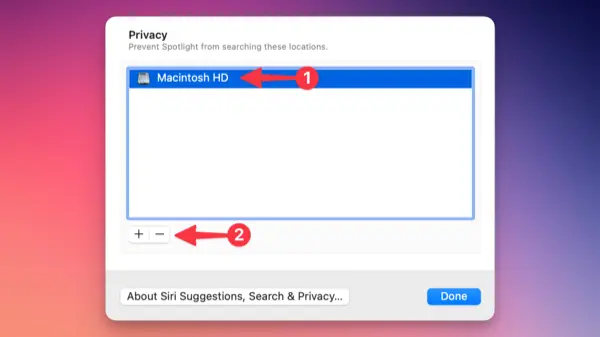
Select Macintosh HD from the Spotlight Privacy list, and click the - button at the bottom left to remove it.
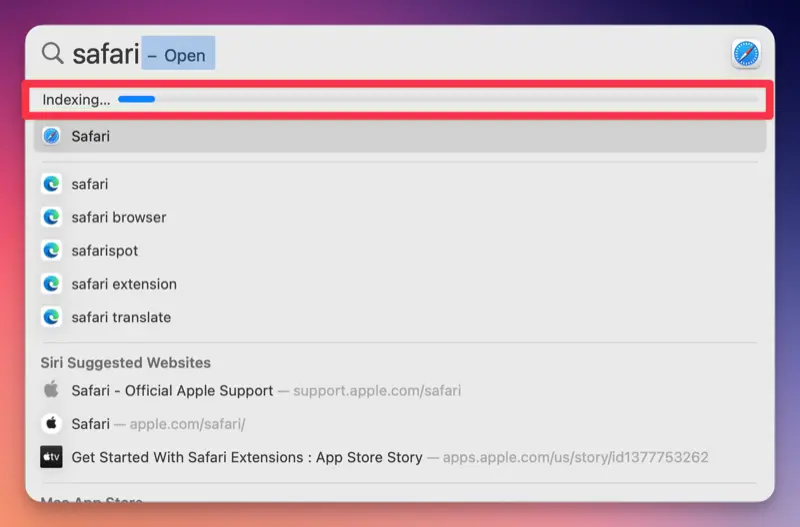
The Spotlight index will be rebuilt, and after a short period of time, you can search in Spotlight to verify the results.
This method, which is also explained on the official Apple website, involves reindexing the entire storage space and can resolve most search errors.
2. Rebuilding Spotlight Index Using Terminal Commands
The second method involves turning off and restarting the Spotlight feature itself to rebuild the index using the mdutil command. mdutil is a command used to control Spotlight, and the following commands are used to rebuild the index.
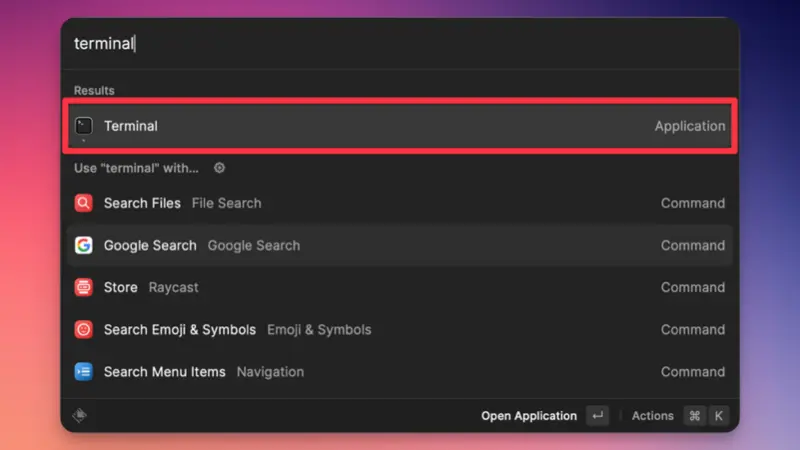
Open the Terminal application. You can find it in the “Utilities” folder within the “Applications” folder, or use Spotlight itself to search for “Terminal.”
In the Terminal window, type the following command and press Enter.
sudo mdutil -E /This command tells macOS to erase (-E) the existing Spotlight index for the root directory (/) of your Mac’s startup disk. You may be prompted to enter your administrator password.
Once the process is complete, type
sudo mdutil -i on /This command enables (-i on) Spotlight indexing for the root directory (/) again.
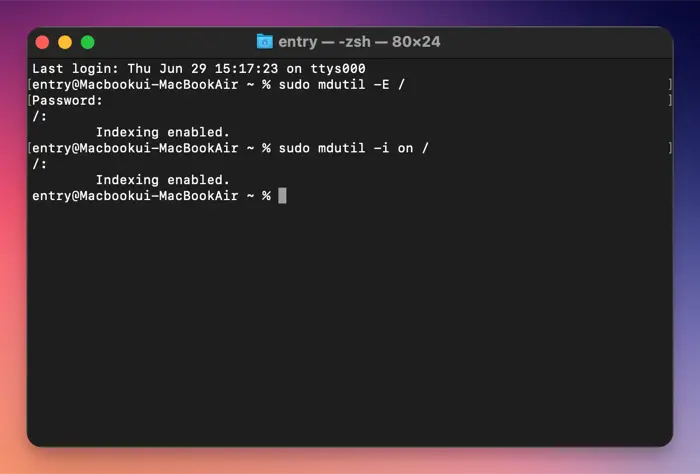
Wait for a while as Spotlight rebuilds the index in the background. The duration may vary depending on the size and contents of your disk.
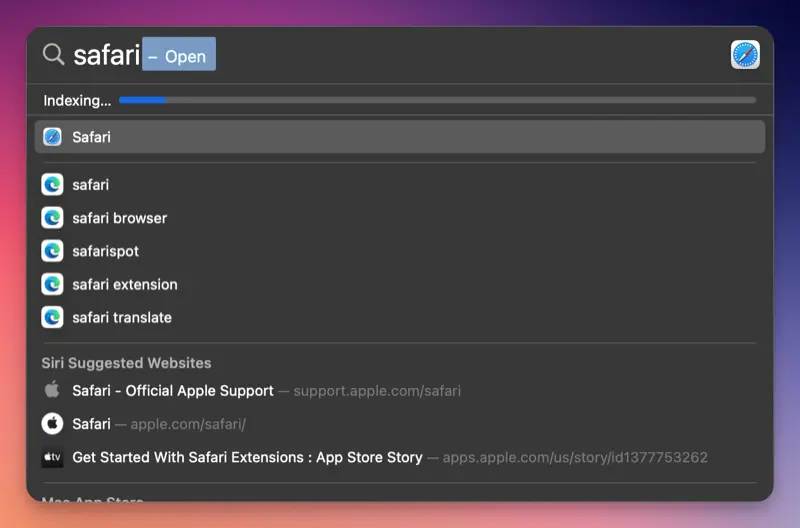
You can resolve errors by reindexing Spotlight using either of the two methods mentioned above. These methods can also be effective for resolving errors in apps that rely on Spotlight.
Alot of good information on this blog, thanks!